

Supplier Master
Supplier Master Quick View screen
1.
A
Red
supplier means that
their balance is over the credit limit
Select New
to create new supplier and double click on each supplier to edit their
details.
1.
Double click to edit supplier
details
2. Create new supplier
The
supplier details tabs on top are similar to those in the Customer Master.
1.
Similar to the customer code in Customer Master, this cannot be changed after you have selected Save
2.
The company number
needs to be entered for GST claiming purposes.
3.
To attach a file (e.g.
pdf file about K1 form) for easy access of viewing
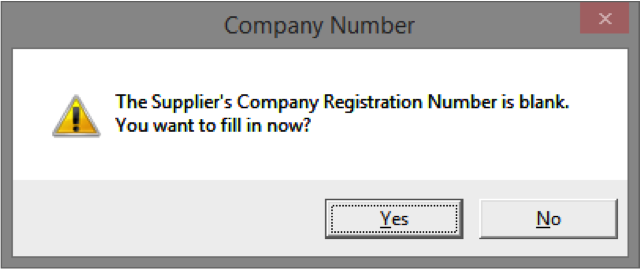
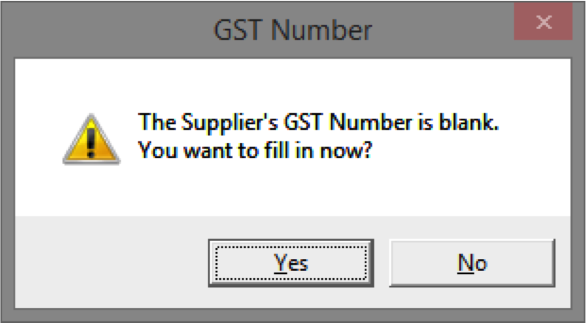
Note: A new window will pop out to prompt you to fill in
supplier company
number if you leave it blank and Save [see below].
1.
Default tax, GL codes, and for salesman, job and department.
2.
GST Number
for supplier and their GST registration date.
Default Settings
Purchase Tax Code: Set the default tax code for
transactions for this supplier [see pg. 54]
Credit Settings
Credit Limit: As per Customer Master, the
credit limit here is the maximum amount of money that is allowed to be owed by
us to the supplier. This is determined by the supplier or our own internal
credit policy. The supplier is listed in red in Supplier Master if outstamding balance
exceeds this.
Terms: You can type whether this supplier
is paid on “CASH” or “CREDIT” terms
Credit Period: Maximum period to receive payment
(this used to calculate “Which supplier do we need to pay by today” in
MIS module). Type C.O.D. (Cash
on Delivery) for a cash-based supplier.
GST Settings
Note: A new window will pop out to prompt you to fill in supplier GST number if you leave it blank and Save [see below].
The Customs of
Malaysia is interested in the company number and the GST registration
number of your supplier. First of all, you can only claim back GST from a
registered trader, therefore there should be a GST Number.
Secondly, the
Customs needs this information to trace back transactions to see if they
actually occurred by matching them with the sales entry of your supplier. Also,
the Customs need to determine whether this transaction is standard rated and
claimable for tax.
The GST
information is less important for our customers because whether we charge GST
depends on our own GST registration status.
This
shows the total invoiced (from Purchase Entry) and
payment
(in Supplier Payment) amount for
purchases for each month, and in the previous and next accounting periods. The
month for invoiced and payment amount is based on the document date
(invoice or payment date).
1.
These months will change based on the accounting period.
Example: 1/6/2015 – 31/5/2016 will make the months
change to June to May
This shows total purchases for each month in this financial period and next financial period. This is used for analysis for management purposes.
1.
Purchases for each month (from Purchase Entry).
2.
Purchases after this financial accounting period (e.g. for
next year).
3.
Bar chart that shows purchases for each month.
This shows all transactions for this customer. It is similar to History button in SupplierMaster.
You can enter additional details and remarks for this supplier here (other than those already keyed in under the Supplier Details tab above).
If you are continuing
your accounts from another software or you first start using accounting software
(i.e. previously you done bookkeeping on paper), you may have outstanding
invoices from each supplier from the previous period.
You should key in
outstanding invoices for each supplier in their respective Opening Balance
tabs.
How to key in outstanding invoices under the Opening Balance tab?
1.
Step 1: Date
is the day before the first day you start using Mr. Accounting.
Example:
Start using 1/4/2015. Date should be 31/3/2015
2.
Step 2:
Enter reference as PINV01, 02 etc (key in all outstanding invoices)
3.
Step 3:
Enter amount
outstanding for the invoices. Press Enter to add the item to the list.
4.
Note: To
delete the entry select the entry and press the Delete key on the
keyboard